Have you ever sat in a quick-lube waiting room and had a technician walk out holding a dirty, leaf-filled paper filter? They hold it up like evidence in a trial, furrow their brow, and ask if you want them to swap it out for $60. Then they tell you that your other filter looks just as bad, and suddenly you are staring down a $150 bill for five minutes of basic work.
You can easily skip that charge. Changing your own air filters is the ultimate entry point into DIY car maintenance. It requires almost no mechanical background, takes under twenty minutes, and gives you an immediate return on your time.
Why DIY Car Maintenance for Beginners is Your Best Move
Dealerships and franchise repair shops routinely charge $45 to $85 for an engine air filter and $50 to $110 for a cabin air filter.¹ That means a full filter service can easily run you $95 to nearly $200 after shop fees and labor taxes.
When you purchase the filters yourself from an auto parts retailer or online storefront, quality aftermarket replacements run between $12 and $25 each. Doing the swap in your own driveway saves you roughly 70% to 80% every single time. Beyond the direct cash savings, handling this yourself builds your mechanical confidence. You start popping the hood without hesitation, and you begin to understand how your vehicle actually breathes.
Your car relies on two completely separate filters to stay healthy:
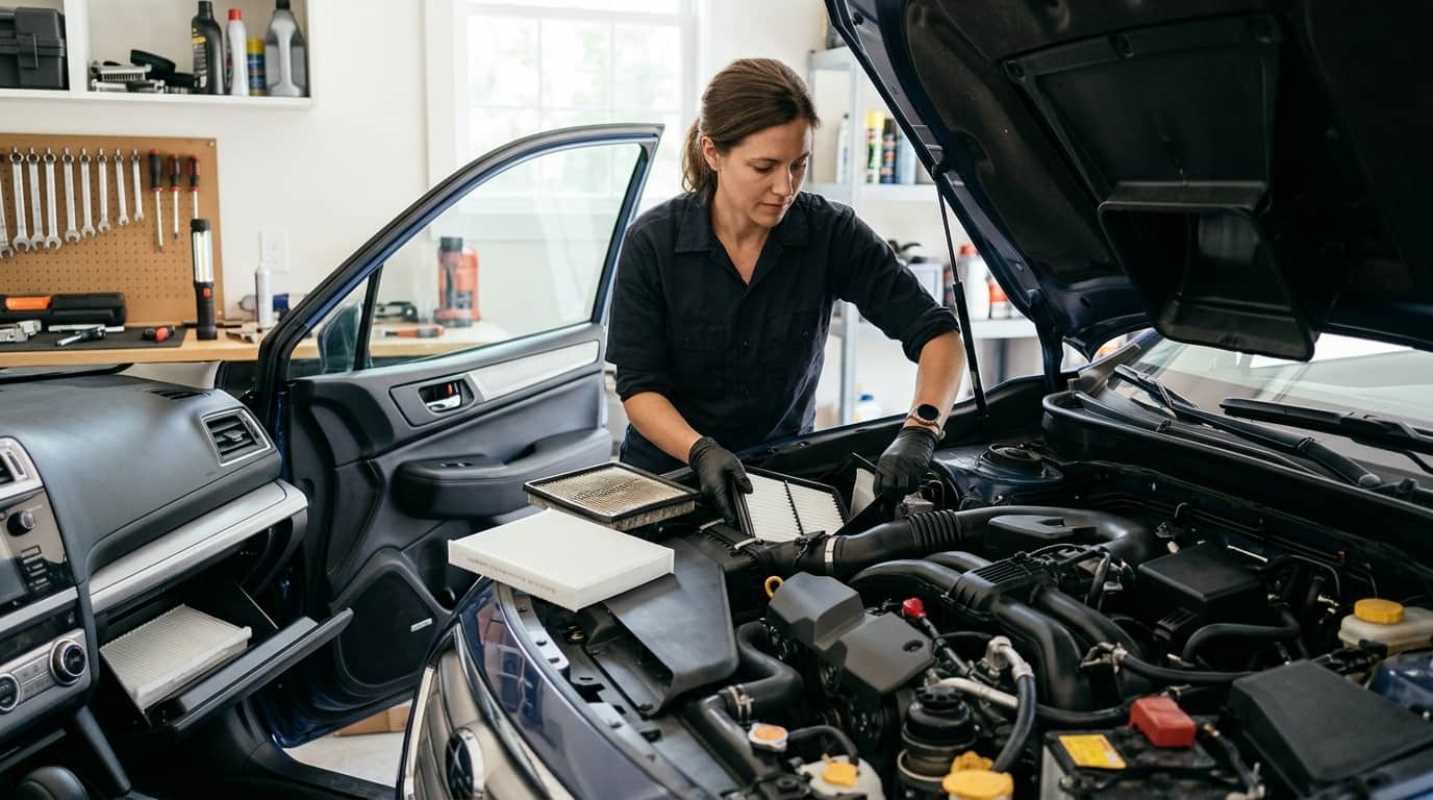
• The Engine Air Filter: Located under the hood, this filter traps dirt, road debris, and abrasive dust before outdoor air enters your combustion chambers. It protects your cylinders, piston rings, and sensitive Mass Air Flow sensor.
• The Cabin Air Filter: Located inside the car, this filter cleans the air flowing through your heating, ventilation, and air conditioning system. It catches pollen, smoke, exhaust soot, and mold spores before you and your passengers breathe them in.
Needed Tools and Preparation
You do not need a garage full of professional mechanic tools for this job. In fact, on about 85% of vehicles on the road today, you can complete the entire process using nothing more than your bare hands.
For the remaining models, you might need a Phillips-head screwdriver, an 8mm socket, or a small flathead screwdriver to gently release stubborn retaining clips. Keep a clean shop rag or a vacuum handy to clear out loose leaves.
Finding the right parts is straightforward. Check your vehicle owner's manual for OEM specifications, or use the vehicle search filter on any reputable auto parts site. Enter your car's exact year, make, model, and engine size. Stick to trusted brands like Wix, Bosch, FRAM, or your vehicle's factory OEM brand.
Before popping the hood, make sure your car is parked on a flat surface with the parking brake engaged and the ignition completely off. If you just drove the car, give the engine bay twenty minutes to cool down so you do not brush against hot coolant hoses or the radiator.
Step-by-Step Engine Air Filter Replacement
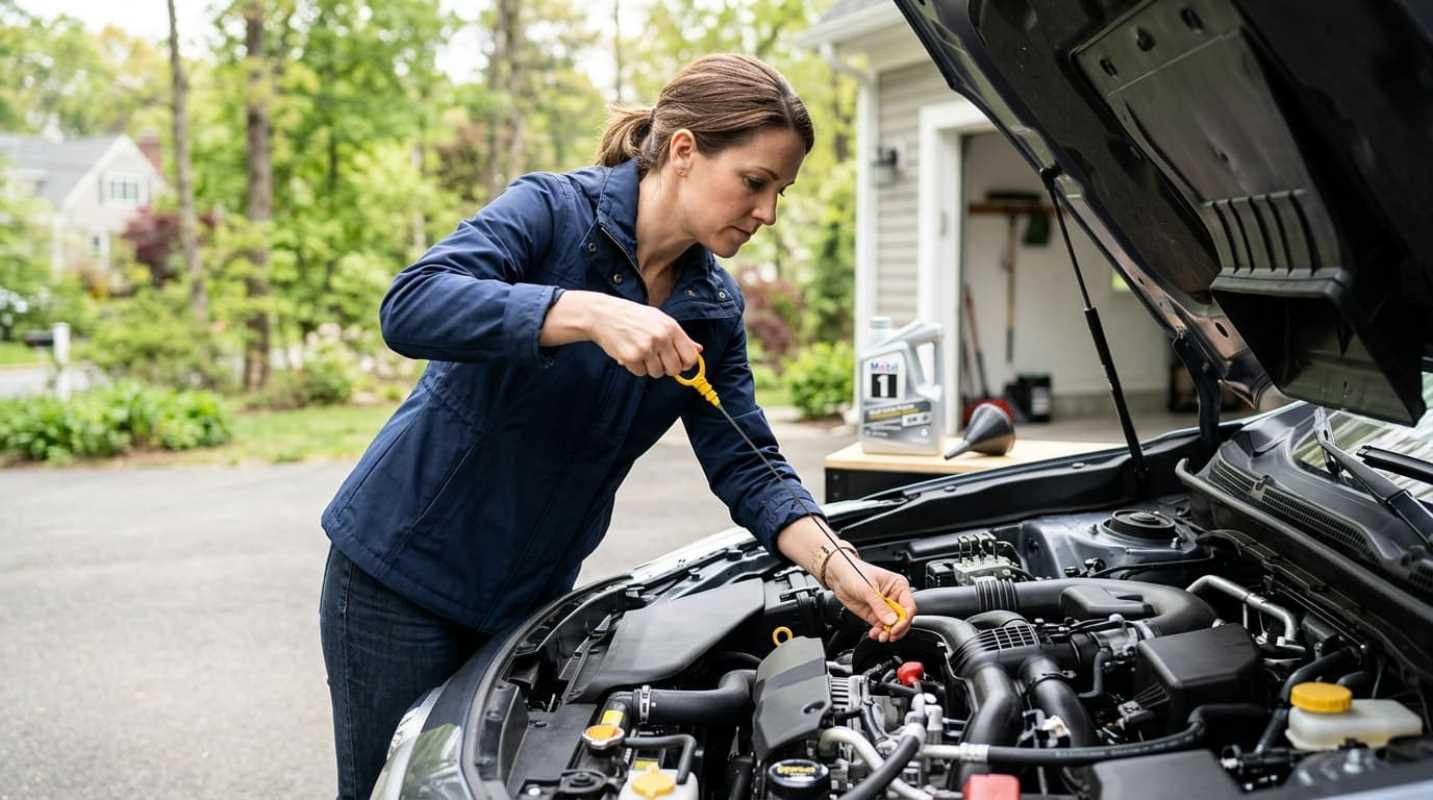
Replacing your engine air filter is one of the easiest tasks you will ever tackle under the hood.²
1. Locate the Airbox
Pop your hood and secure the prop rod. Look for a bulky, black plastic housing sitting off to the side of the engine block. It connects directly to a thick, flexible plastic duct that leads straight into the engine intake.
2. Open the Housing
Most modern airboxes are held together with two to four metal spring clips. Snap these open with your fingers. If your vehicle uses fasteners instead, back out the screws with a screwdriver. These screws are usually captive, meaning they stay attached to the top lid so you do not drop them into the engine bay.
3. Inspect the Old Filter
Lift the plastic lid slightly and pull the old filter free. Pay close attention to how it sits inside the box, noting which side faces up and how the rubber perimeter gasket fits into the groove.
4. Clean the Housing
Take a look inside the bottom of the empty airbox. You will probably spot dried leaves, trapped sand, and dead bugs. Grab your shop vacuum or a damp cloth to clean out this lower tray. Make sure you do not drop any loose debris down into the clean intake tube that leads toward the engine.
5. Seat the New Filter
Drop your fresh filter squarely into place. Make sure the rubber gasket sits completely flat in the housing channel with no pinched corners or folded edges. A loose seal creates unfiltered gaps where grit can slip past the filter.
6. Latch the Box
Lower the lid back down, align the rear hinge tabs, and snap the metal clips back into place. Give the lid a gentle tug to verify that everything is locked down tight.
Step-by-Step Cabin Air Filter Replacement
Replacing the cabin air filter is equally simple, though it usually happens from the comfort of your passenger seat.³
1. Empty the Glove Compartment
Open your glove box and remove everything inside. Set your paperwork and items aside so they do not dump onto your floor mats.
2. Unhook the Damper Arm
Look at the outer right edge of the lowered glove box door. Many modern vehicles have a small string or plastic hydraulic arm that slows the door when it opens. Gently push or slide this arm off its retaining peg.
3. Lower the Glove Box Door
Reach into the glove box and squeeze the left and right sidewalls inward. This allows the rubber side stoppers to clear the dashboard frame, letting the door swing completely downward toward the carpet.
4. Remove the Access Door
Look straight into the exposed cavity behind the dashboard. You will see a horizontal, rectangular plastic hatch. Squeeze the latches on either side and pull the cover off.
5. Check the Airflow Direction
Before sliding the old filter out, check the small arrow printed on its outer edge. In most vehicles, airflow moves downward toward the blower fan, but make note of the exact direction your vehicle uses.
6. Vacuum the Cavity
Slide the old filter out carefully so you do not dump collected debris onto your carpet. Mice and squirrels love nesting in cabin air ducts, so shine a flashlight inside. If you see pine needles or shredded insulation, vacuum them out before proceeding.
7. Install the New Filter and Reassemble
Slide the new filter into the tray, making sure your printed airflow arrow matches the direction you noted earlier. Snap the plastic access door shut, lift the glove box door past its rubber stops, and pop the damper arm back onto its peg.
A fresh cabin filter protects your health and extends the lifespan of your vehicle's blower motor. A suffocated filter forces the HVAC fan motor to work against heavy resistance, which burns out blower motor resistors and leads to expensive repair bills.
Maintenance Intervals and Pro Tips
How often should you perform this routine? For standard driving conditions, plan to inspect your engine air filter every 15,000 to 30,000 miles. A great rule of thumb is to check it every third oil change. Your cabin air filter should generally be replaced every 12,000 to 15,000 miles, or once every twelve months. Many drivers find that replacing the cabin filter in early spring helps clear out winter grime right before pollen and heavy air conditioning demands hit.
If you regularly drive on unpaved gravel roads, live in an arid desert climate, or spend hours sitting in heavy city traffic, your filters will load up much faster. In those conditions, cut your inspection intervals in half.
Watch for these warning signs that mean your filters need immediate replacement:
• Sluggish Acceleration: A severely choked engine filter restricts airflow, which hurts engine responsiveness and causes slow acceleration times.
• Musty Vent Odors: If you turn on your air conditioner or defroster and smell damp socks or stale dust, your cabin filter is full of trapped organic material.
• Weak Vent Airflow: If your fan is set to high but you only feel a gentle breeze coming out of the dashboard vents, the cabin filter pleats are choked with debris.
• Unusual Fan Whine: A strained blower motor makes a high-pitched whirring or fluttering sound when it struggles to pull air through a clogged filter.
Never try to clean an old paper filter by blasting it with high-pressure compressed air. The intense air blast tears the microscopic cellulose fibers inside the paper. Even if the surface looks cleaner afterward, those blown-out pores let abrasive particles travel directly into your engine cylinders.
When buying a cabin filter, consider spending an extra few dollars for an activated carbon or charcoal version. Standard cellulose filters only catch physical dust, but carbon filters absorb exhaust gases, smoke, and outdoor odors. Once you pull your old filters out, toss them straight into your regular household trash, wash your hands, and enjoy the money you just kept in your wallet.
Sources:
1. Capital One Auto Navigator
https://www.capitalone.com/cars/learn/managing-your-money-wisely/cabin-air-filter-vs-engine-air-filter-whats-the-difference/1758
2. Haynes Manuals
https://us.haynes.com/blogs/tips-tutorials/engine-air-filter-replacement-a-diyer-s-first-step-toward-confidence
3. Crash Champions
https://crashchampions.com/company/knowledge-center/how-replace-car-air-filters